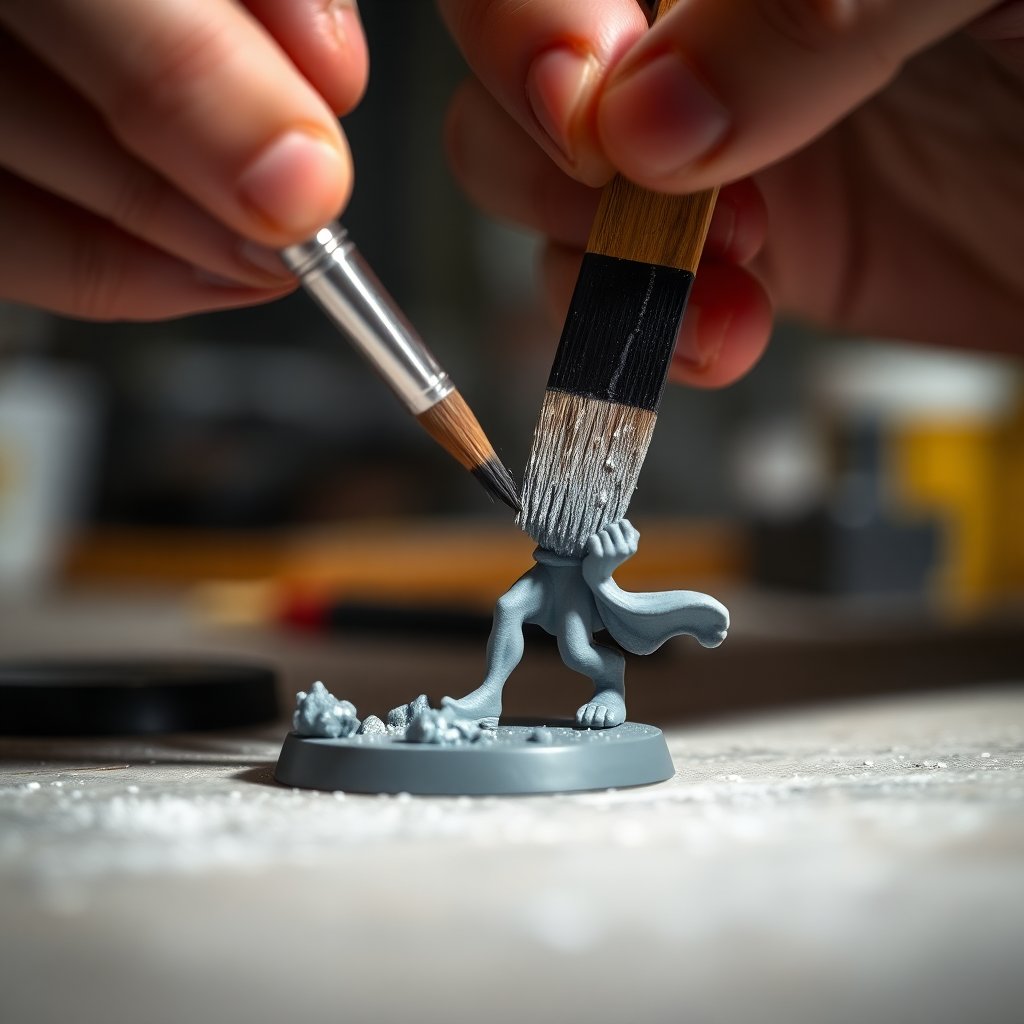
Drybrushing has a reputation as the beginner technique you outgrow, and that reputation is completely wrong. Walk the display cases at any competition and you will find drybrushing doing quiet work everywhere — fur, chainmail, stone, rust, dense foliage, and the subtle metallic sparkle on a sword edge. The skill never leaves your toolkit. It just gets more precise. The reason it reads as a beginner move is that most people learn it badly once, get a chalky result, and never fix the two or three habits that were actually the problem.
This guide fixes those habits. The technique is simple enough to describe in a sentence: load a brush with paint, wipe almost all of it off, then sweep the nearly dry bristles across raised surfaces so pigment catches only on the high points. Everything that makes the difference between a crisp highlight and a dusty smear lives in how you load, how you wipe, and how hard you press.
As an Amazon Associate we earn from qualifying purchases. Prices shift constantly, so treat any figure here as "roughly that much — check at checkout" before you buy.
What Drybrushing Actually Does
Think about where light hits a model. It lands on the raised edges, the ridges of muscle, the rim of a shield, the top of each scale. Drybrushing deposits pigment on exactly those surfaces and nowhere else, which means it paints highlights for you based on the physical geometry of the sculpt. You are not deciding where the light goes — the model decides, and your brush simply follows the texture.
That is why it works so well on anything with surface detail. A fur cloak has hundreds of tiny ridges you would never pick out by hand in a reasonable amount of time. One drybrush pass catches all of them in about thirty seconds. The same logic applies to stone bases, wood grain, rope, scale mail, and the woven texture on cloth. Where the technique struggles is on smooth, flat panels — power armor plates, vehicle hulls, anything without raised detail for the bristles to grab. On those surfaces drybrushing just leaves streaks, so reach for a different method there.
The Brush Matters More Than You Think
A drybrush takes a beating. You are scrubbing stiff, paint-clogged bristles against hard resin and plastic, which destroys the fine tip you would protect on a detail brush. So the first rule is simple: never drybrush with a brush you care about. Dedicate cheap brushes to the job and let them wear out.
The ideal shape is a short, stiff, round or domed brush — stubby enough to hold its form under pressure, firm enough to flick pigment off the tips rather than smearing it. Many makers sell brushes built specifically for this, with a rounded head and a firm synthetic belly. A dedicated set is worth it because the shape does half the work. You can find solid options if you → shop drybrush miniature painting brushes on Amazon, and I would buy at least two sizes: a large one for cloaks and bases, a small one for picking out fine chainmail and edges.
Old makeup brushes and cosmetic buffing brushes work surprisingly well for large zenithal passes over a whole model, which is partly why the method caught on with the speed-painting crowd. For everything precise, though, a purpose-built hobby brush gives you far more control. If you are still building out your kit, our guide to the best brushes for miniature painting covers which brushes to protect and which to sacrifice to jobs like this one.
Paint Choice: Dedicated Dry Paints vs Regular Acrylics
You can drybrush with any acrylic, but the consistency you want is thicker than normal — closer to the paint straight out of the pot than the thinned coats you would use for base-coating. A thinner paint stays wet on the brush too long and floods into recesses instead of catching only on raised edges, which defeats the entire point.
Some ranges sell paints formulated specifically for drybrushing, with a heavier body and a matte, slightly chalky finish that grabs texture beautifully. They cost a little more but remove the guesswork. Browse a → dry paint set on Amazon if you want the formulated option. If you would rather use what you already own, that works fine — just use the paint thick and lean on your wiping technique to control it.
Metallics are the other place drybrushing earns its keep. A light drybrush of silver or gold over a dark basecoat is the single fastest way to make chainmail, buckles, and sword edges pop, and it looks far more natural than a flat coat of metallic because it only catches the raised links. A good → metallic acrylic miniature paint set on Amazon gives you a range of tones to layer from dark steel up to bright silver. If you are still choosing a core palette, our rundown of the best beginner miniature paints pairs well with building out a drybrush-friendly set.
The Step-by-Step Method
Here is the actual sequence. Read it once, then expect your first three or four models to be practice.
Load a small amount of paint. Dip just the tip of the brush into the pot — you want a modest load, not a gob. Too much paint is the number one cause of chalky, overloaded results.
Wipe almost all of it off. This is the step everyone shortchanges. Drag the brush back and forth on a paper towel or a dedicated rag until you see almost no paint transferring — until the stroke leaves only the faintest ghost of color. The brush should feel nearly dry, which is the whole name of the technique. If the towel is still leaving wet streaks, keep wiping. Keep a stack of paper towels at the bench specifically for this.
Sweep with light pressure. Flick the brush across the raised areas using the side of the bristles, not the tip, with a light, quick motion. Build the effect in multiple passes rather than trying to deposit it all at once. The first pass should look like almost nothing happened. That is correct — you want to sneak up on the finish so you never overshoot.
Work from dark up to light. Just like layered highlights, drybrushing reads best when you stack tones. Start with a mid-tone over your basecoat, then a lighter one hitting only the highest edges, and if you want real punch, a final tiny touch of near-white on the sharpest points. Each pass covers less area than the one before it. This value stacking is where cheap-looking drybrushing turns into something that actually holds up under a display light.
Fixing the Chalky Look
The dusty, overblown result that gives drybrushing a bad name almost always comes from three mistakes: too much paint on the brush, not enough wiping, and too much pressure. If your highlights look like someone rubbed sidewalk chalk on the model, dial back all three and build the effect in more, lighter passes.
A second fix is a thin glaze afterward. If a drybrush pass comes out slightly too stark or the color sits wrong, a heavily thinned wash of the base color pulled over the top will knock back the chalkiness and tie the highlight into the surface. For how to get that glaze consistency right, see our guide on how to weather miniatures, which leans on the same thin-paint control to blend rust and grime into raised detail.
A third fix is simply to seal and move on. Drybrushing can look a touch rough up close and still read perfectly at tabletop distance, which is the distance that matters for an army you actually play with. Do not chase display-cabinet smoothness on a rank-and-file trooper.
Where Drybrushing Fits in a Workflow
The technique is a building block, not a whole paint job. It shines as a highlight layer on textured areas and as the greyscale underpainting step in faster methods. The zenithal drybrush that opens the slapchop method is pure drybrushing — black primer, grey from above, white on the very top — and that greyscale map is what makes a single contrast coat look shaded. If speed is your goal, the slapchop painting technique is drybrushing scaled up to an entire model, and it is worth learning right after you have the basic stroke down.
For bases, drybrushing is almost mandatory. Dirt, stone, gravel, and static grass all come alive with a couple of light passes of a tan or bone color to catch the texture. The same goes for terrain, where you can cover a whole ruined building in minutes with a large brush. The miniature-painting community on sites like the long-running CoolMiniOrNot gallery is full of entries where careful drybrushing on fur, stone, and metal is quietly doing most of the visual work, even on award-winning pieces.
A Few Habits Worth Building
Keep a wet wipe or an old toothbrush nearby, because dried paint builds up in the belly of a drybrush fast and ruins the shape. Clean it between sessions and the brush lasts far longer, though you should still expect to retire these regularly — buy a cheap → synthetic flat and round brush set on Amazon and treat them as consumables rather than heirlooms.
Test the brush load on the back of your hand or a scrap sprue before every pass. Two seconds of testing saves you from dumping a chalky load onto a face or a cloak you just finished. And resist the urge to rush the last light pass — that final, barely-there touch of highlight on the sharpest edges is what makes the whole model look deliberate rather than dusty.
Drybrushing rewards restraint more than any other beginner technique. Load light, wipe hard, press gently, and stack your passes from dark to light. Get those four things right and you will reach for it on every model you paint, from the first trooper off the sprue to the centerpiece in the cabinet.
As an Amazon Associate we earn from qualifying purchases. This article contains affiliate links; if you buy through them we may earn a small commission at no additional cost to you.