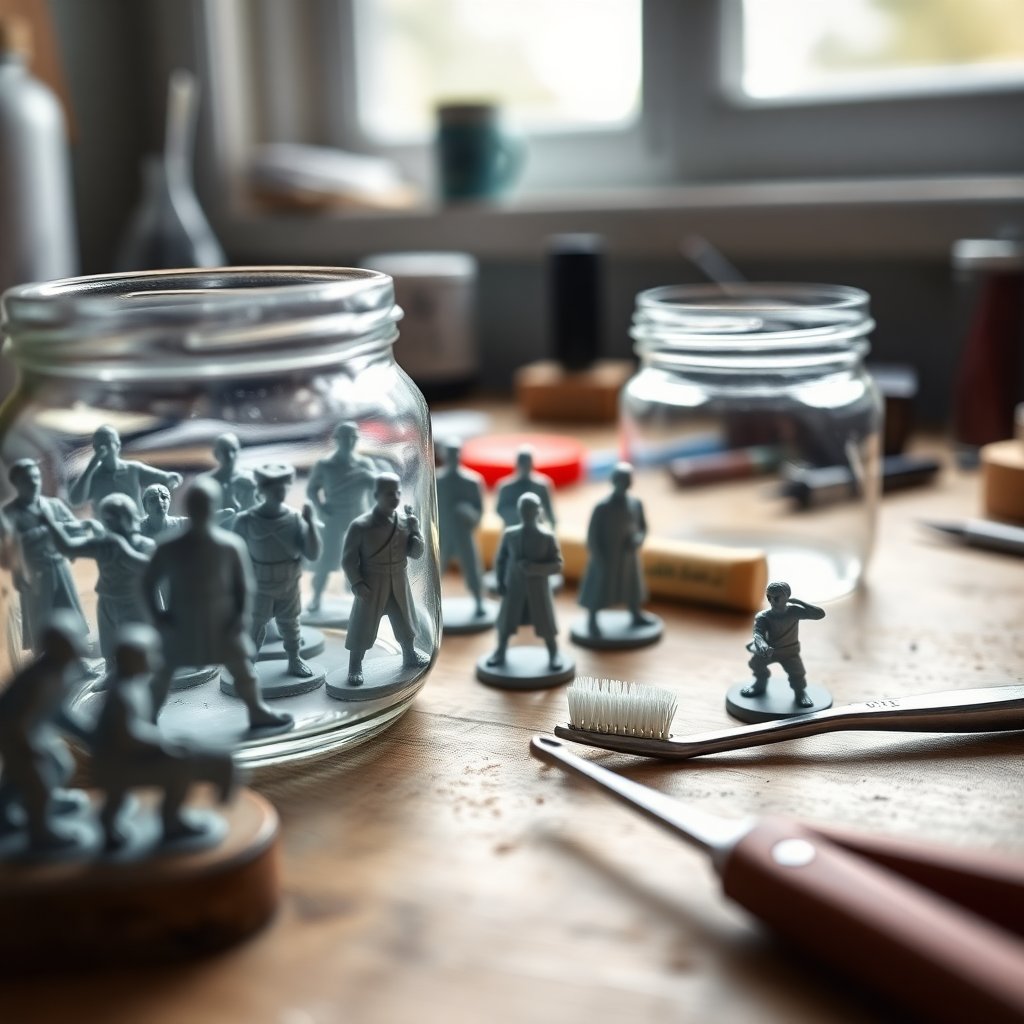
Every painter ends up here eventually: a shelf of half-finished models, a bag of secondhand eBay minis caked in someone else's thick basecoat, or a squad you painted three years ago that no longer matches your current standard. Stripping the paint and starting fresh is almost always cheaper and faster than buying new plastic — but it is also where a lot of hobbyists panic, dump a model in the wrong chemical, and end up with a warped, crumbling mess. The good news is that stripping is reliable and low-risk once you know which solvent matches your material and how long to leave it.
This guide covers the two strippers that do the vast majority of the work, how they differ across plastic, resin, and metal, and the exact scrub-and-rinse routine that lifts old acrylic out of deep recesses without touching the surface underneath.
As an Amazon Associate we earn from qualifying purchases. Prices and formulations change, so treat any figure here as "roughly that" and verify at checkout.
Why Stripping Works (and Why the Wrong Chemical Ruins Models)
Almost every hobby paint you will strip is acrylic — a pigment suspended in an acrylic polymer that cures into a flexible plastic film. Stripping does not dissolve that film so much as soften it and break its grip on the surface, so it can be scrubbed away in sheets and flakes. That is the whole trick: soften, then agitate.
The danger is that some solvents attack the model as readily as the paint. Hard plastic miniatures are polystyrene, resin models are cured photopolymer or polyurethane, and older figures are pewter or a lead-free metal alloy. Aggressive solvents like acetone, brake fluid, and paint thinner will strip acrylic quickly, but they also melt polystyrene, cloud resin, and soften glue joints. That is why the two products below are the standard recommendation: they are strong enough to lift cured acrylic yet gentle enough to leave the model intact over a normal soak.
The single most important habit is to test on a scrap or an unimportant model first, especially with resin, and never leave anything soaking longer than it needs.
The Two Strippers That Do 90% of the Work
Simple Green is the workhorse for plastic and metal. It is a water-based cleaning concentrate, not a harsh solvent, so it can sit on polystyrene and pewter for hours or even overnight with essentially no risk to the model. Use it full strength — do not dilute it for stripping. Grab a jug of the Simple Green all-purpose cleaner on Amazon and you have enough to strip dozens of models. It works slowly, which is exactly why it is safe: the paint lifts over a long soak instead of a violent one.
Isopropyl alcohol (IPA) is the faster option, best kept at 90% concentration or higher. Higher-percentage IPA has less water and bites into cured acrylic more aggressively, so it can strip a stubborn model in a fraction of the time Simple Green needs. The tradeoff is speed for caution: IPA is generally safe on hard plastic and metal but can make some plastics brittle or cloud certain resins over long soaks, so it wants shorter dips and closer watching. A bottle of 99% isopropyl alcohol on Amazon is the version you want — the 70% first-aid kind is mostly water and works poorly. IPA is a well-characterized solvent; its solvency and low toxicity relative to harsher options are covered in the chemical profile on Wikipedia if you want the technical background.
For most people the answer is simple: Simple Green if you have time and want zero material risk, IPA if you want it done in an hour and will keep an eye on it.
Material-by-Material: What's Safe and for How Long
Hard plastic (polystyrene). The most forgiving material. Simple Green can soak overnight or longer with no harm. High-strength IPA works too but keep plastic dips shorter — a few hours rather than days — since prolonged alcohol exposure can leave thin plastic slightly brittle. Assembled models with plastic glue joints usually survive a soak fine, though a heavy scrub can pop a weak seam.
Resin. The material that demands respect. Cured resin can grow brittle and, in some formulations, cloudy or soft under long solvent exposure, and 3D-printed resin prints are especially variable. Use Simple Green, keep the soak shorter than you would for plastic, check progress often, and test one print before committing a batch. Skip long IPA soaks on resin unless you have confirmed that specific resin tolerates it.
Metal (pewter / alloy). Nearly bulletproof. Metal shrugs off both Simple Green and IPA no matter how long they sit, so you can be patient and let a stubborn old enamel-heavy paint job soak for a day without worry. Metal is where you can walk away and forget about it.
Whichever material you have, work in a sealed container so the stripper does not evaporate. A wide-mouth airtight glass jar on Amazon lets you fit a model, cover it completely, and seal the lid so a small amount of liquid strips efficiently for hours.
The Step-by-Step Strip
1. Gear up. Both strippers are skin and eye irritants over repeated handling, and IPA is flammable, so work in a ventilated space away from flame and wear nitrile gloves. A box of nitrile gloves on Amazon keeps solvent and loosened paint off your hands through a long session.
2. Submerge fully. Drop the model into your jar and add enough stripper to cover it completely. Partial coverage strips unevenly and leaves a stubborn tide line. Seal the lid.
3. Soak. For Simple Green, start with a few hours and extend to overnight for thick coats. For IPA, check at the 30-to-60-minute mark; many models are ready to scrub by then. Metal can go as long as it needs; resin should be watched closely and pulled early.
4. Scrub. This is where the paint actually comes off. Lift the model out, and with gloves on, work an old toothbrush or a stiff nylon brush over the surface. The softened paint should come off in flakes and threads. For panel lines, rivets, and faces, a stiffer detail brush reaches what a toothbrush skips — a cheap nylon detail scrub brush set on Amazon is worth keeping just for this. Do not use a metal wire brush on plastic or resin; it gouges detail. Brass or nylon only.
5. Re-soak if needed. If 80% comes off but paint clings in the deepest recesses, drop it back in for another round rather than scrubbing harder. Two gentle soaks beat one aggressive scrub every time.
6. Rinse and dry. Rinse the model thoroughly under warm water to remove all stripper residue, then let it dry completely. Any leftover Simple Green or alcohol film will interfere with your new primer's grip. An old toothbrush under running water clears the last flakes from crevices.
Common Mistakes That Cost You Models
Reaching for acetone or brake fluid. They strip fast and wreck faster. Acetone dissolves polystyrene outright and hazes resin; keep both far from any model you care about. If Simple Green and IPA are not cutting a particularly tough coat, soak longer — do not escalate to a harsher chemical.
Soaking resin like it's plastic. The most common way to ruin a good print. Resin's tolerance varies wildly by brand and by how fully it was cured, so treat every long resin soak as a gamble unless you have tested that exact material.
Scrubbing too hard, too soon. If paint is not lifting easily, the soak is not done. Forcing it flattens raised detail and rounds off crisp edges — the very things that make a repaint worth doing.
Skipping the rinse. Primer and paint will not adhere to a model still coated in stripper residue. A thorough warm-water rinse and full dry are not optional.
After the Strip: Repainting a Clean Slate
A freshly stripped model is a genuine gift — bare surface, crisp detail, and none of the texture problems that come from painting over old layers. Once it is bone dry, re-prime it and you are back to square one with a better result than painting over the original ever would have given you.
This is the perfect moment to try a faster workflow than whatever produced the paint job you just removed. A stripped batch of infantry is ideal for the slapchop painting technique, which turns a clean model into a finished one in a fraction of the time. If the bases took damage during handling or you never finished them, redo them properly with the approaches in the miniature basing guide. And when you repaint, getting your paint consistency right from the first coat avoids the thick, gloopy layers that made stripping necessary in the first place — the painting mediums guide covers how flow improvers and thinning mediums keep coats thin and detail sharp.
Stripping is one of those skills that quietly pays for itself. Once you trust the process, a bin of rough secondhand models or your own early mistakes stops being wasted plastic and becomes a free supply of blank canvases.
Some links on this page are affiliate links. We may earn a small commission if you purchase through them, at no extra cost to you.
As an Amazon Associate we earn from qualifying purchases. This article contains affiliate links; if you buy through them we may earn a small commission at no additional cost to you.