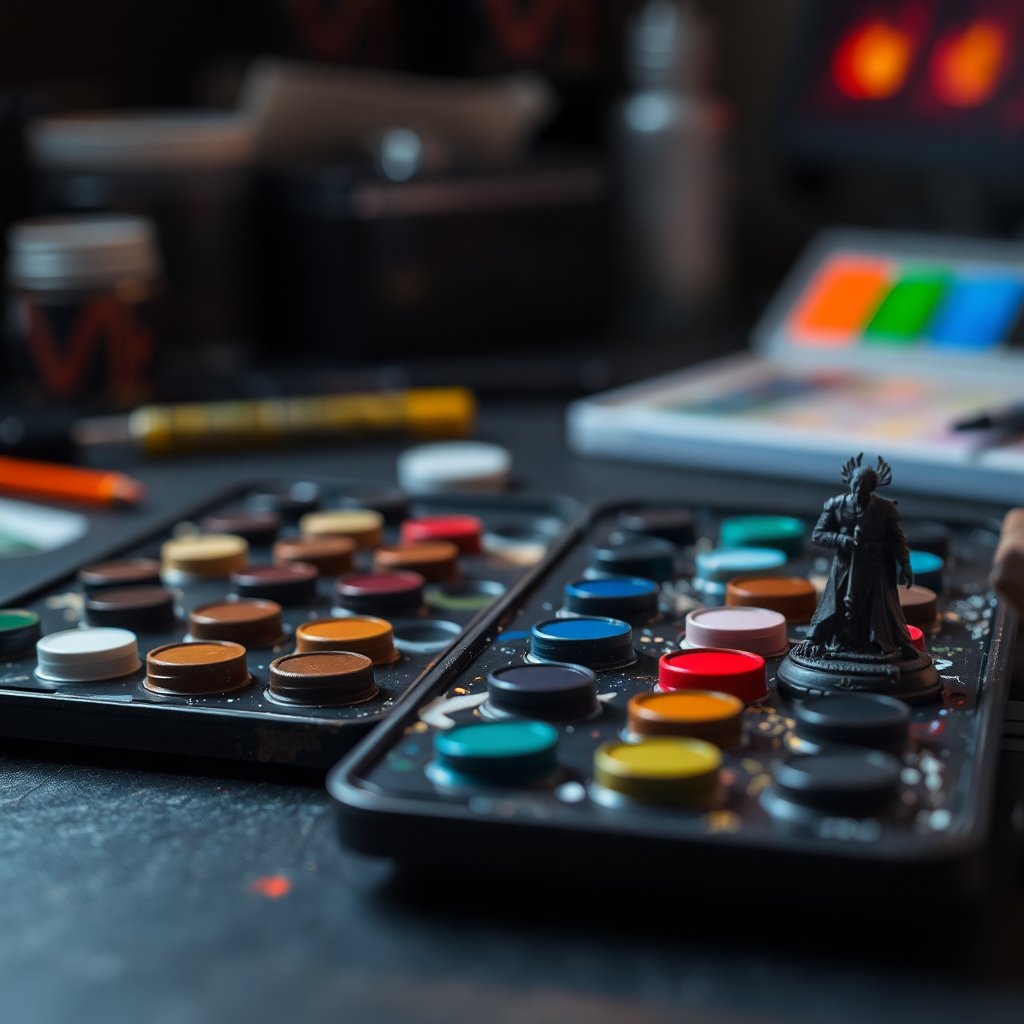
A wet palette is a shallow tray lined with a damp sponge and a sheet of semi-permeable membrane paper. Paint sits on top of the membrane. Water wicks up through the membrane from the sponge, keeping paint moist and workable for hours — sometimes days — rather than drying out in minutes.
That's it. That's the whole trick. But the difference it makes to your painting is significant — arguably the single most impactful tool upgrade available for under $50.
What Actually Changes
Extended working time. Paint stays usable on the palette while you work through an entire model. You mix a tone once, not ten times. This matters enormously for consistency — the third highlight on model fifteen matches the first highlight on model one because you've been using the same paint all session.
Less waste. Squeezing paint for immediate use is wasteful — most of it dries before you use it. With a wet palette, the paint you mix stays there, usable. You squeeze less, waste less, run out of pots slower.
Better blending. Wet blending — the technique of moving two wet paint colours into each other on the model — becomes possible. On a dry palette, paint starts drying the moment it touches a warm model surface. On a wet palette, your thinned paint stays in the right consistency range for longer.
Less interruption. You stop losing your concentration to re-thinning dried paint.
Smoother highlights. When paint stays wet and consistent, you can build up thin layers with more control. The difference in your final highlights after adopting a wet palette is noticeable within the first session.
What to Buy
Best Overall: Redgrass Games Evomini
The community standard for dedicated hobby wet palettes. The Evomini is the compact version — about the footprint of a paperback book — and uses purpose-made hydration paper that keeps paint workable longer than makeshift alternatives. The lid seals properly so you can leave paint overnight and find it still usable the next morning.
→ Shop Redgrass Games Evomini wet palette on Amazon
Larger Format: Redgrass Games Studio
The Studio version has a larger working area — useful if you work with many colors simultaneously or prefer more room to spread out your palette. Same quality paper and sealing lid as the Evomini.
→ Shop Redgrass Games Studio wet palette on Amazon
Budget Pick: Masterson Sta-Wet
The older community standard — cheaper, simple, proven. No frills, does the job. The paper is thicker than the Redgrass alternatives and some painters find it performs less well at thin consistency. But it works and costs significantly less.
→ Shop Masterson Sta-Wet palette on Amazon
Wet Palette Comparison Table
| Product | Size | Seal | Paper Quality | Price Range | |---|---|---|---|---| | Redgrass Evomini | Compact | Excellent | Premium | $$$ | | Redgrass Studio | Large | Excellent | Premium | $$$$ | | Masterson Sta-Wet | Medium | Good | Standard | $$ | | DIY (see below) | Any | Variable | Good | $5 |
How to Make Your Own
Before spending on a purchased palette, try a DIY version. It works well enough to confirm whether you'll actually use a wet palette — and costs under $5.
You need three things:
- A shallow lidded container — a takeaway container with a tight lid works fine
- A sponge — cut to fit the container, saturated with water
- Parchment/baking paper — NOT greaseproof paper; you want baking parchment, which is semi-permeable
Wet the sponge thoroughly, squeeze out excess so it's damp but not dripping. Place it in the container. Cut baking parchment to fit on top of the sponge. Your palette is ready.
Paint behaves noticeably better on this than on a dry tile or paper. The DIY version works well enough to confirm whether you'll use a wet palette before spending on a nicer one.
The only real limitation of the DIY version: Baking parchment wears out faster than purpose-made palette paper, and the lids on takeaway containers often don't seal as well as dedicated products. If you find yourself using the DIY version every session, upgrade to a Masterson or Redgrass.
Using It
A few habits that help:
Don't drown the membrane. The sponge should be damp, not waterlogged. If water is pooling on top of the parchment, the sponge is too wet — squeeze some out.
Seal it between sessions. Close the lid between painting sessions. Paint will stay workable overnight on a properly sealed wet palette.
Rinse the membrane weekly. Old paint builds up and the membrane becomes less effective. Rinse under a tap periodically.
Thin normally. The wet palette doesn't thin your paint for you — it maintains the consistency you start with. Still thin your paint properly before putting it on the palette.
Use a small area at a time. Put out only the paints you're actively using. This keeps the palette organized and makes it easier to find the tone you need quickly.
Wet Palette and Specific Techniques
Layering: The wet palette is designed for this. Keep your base tone, shadow, and highlight on the palette simultaneously. Work between them without remixing.
Blending: Both wet-blending (mixing colors on the model) and layered blending benefit from consistent paint consistency that a wet palette maintains.
NMM (Non-Metallic Metal): NMM requires keeping 5–6 values wet simultaneously and transitioning between them quickly. The wet palette makes this practical. Without one, NMM is significantly harder.
Army painting: When painting 20+ models in a batch, you mix a base tone and work through the entire batch before it dries. This produces perfectly consistent color across the unit.
One Objection
The most common pushback is "I use a wet palette and my paint goes mouldy." This is real, and it happens when the palette is left sealed for too long with paint on it. If you're not painting for more than three days, rinse the membrane. The mould grows on old paint, not on the paper itself.
Some painters add a small amount of anti-mould solution (sold specifically for this purpose) to the water in the sponge. It extends the mould-free period without affecting paint performance.
With clean habits, a wet palette is genuinely the single piece of gear most likely to improve your painting immediately — without any improvement in actual technique.
What Else Goes on a Well-Equipped Painting Desk
The wet palette is the foundation, but a complete setup includes:
A water pot — wide-mouthed jar, changed regularly. Clean water matters more than painters think.
Paper towels — essential for loading and checking your brush before each stroke.
A daylight lamp — 6500K lighting is non-negotiable for accurate color work. Warm household lighting distorts everything.
A hobby knife — for cleaning mould lines before painting. Painting over mould lines is the most common thing that makes miniatures look amateur.
See our full hobby space on a budget guide for the complete desk setup that actually works.
FAQ: Wet Palettes
Does a wet palette work with Contrast/Speedpaints? Yes, but with a caveat. Contrast and Speedpaint medium is slightly heavier than regular paint and can dilute differently on a wet palette. Many painters use a dry section of the palette (just the lid or a ceramic tile) for Contrast paints and reserve the wet area for regular acrylics.
Can I leave paint on the palette between sessions? Yes, for 24–48 hours with a properly sealed palette. After 3+ days, the paint typically becomes unusable and the sponge risks mould. Rinse everything and start fresh for sessions more than two days apart.
Why is my paint getting watery on the palette? The sponge is too wet. Squeeze out the sponge until it's just damp. Water pooling on the membrane surface dilutes paint that touches it. The membrane should be moist but not pooling.
What size wet palette do I need? The Evomini works for most painters. Only go larger if you regularly need 10+ colors accessible simultaneously, or if you're doing large blending work that benefits from more room to work. The compact size fits easily into a hobby bag for transport.
Does the brand of parchment paper matter for the DIY version? Standard baking parchment from any supermarket works. Avoid wax paper (too impermeable) and regular baking paper treated with silicone coating (also too impermeable). Regular unbleached parchment is ideal. The Redgrass and Masterson paper is technically better, but supermarket parchment works for testing the technique.
The Bottom Line
A wet palette is the closest thing the hobby has to a guaranteed upgrade. Every painter who tries one uses one — the handful who don't are outliers. It costs $5 to make one today and confirm for yourself.
For beginners: make the DIY version first, use it for a few sessions, then upgrade to a Redgrass or Masterson once you know you're committed. For experienced painters who haven't tried one: there's nothing left to consider.
Building out the rest of your desk? See our beginner miniature paints guide for the full paint range breakdown.